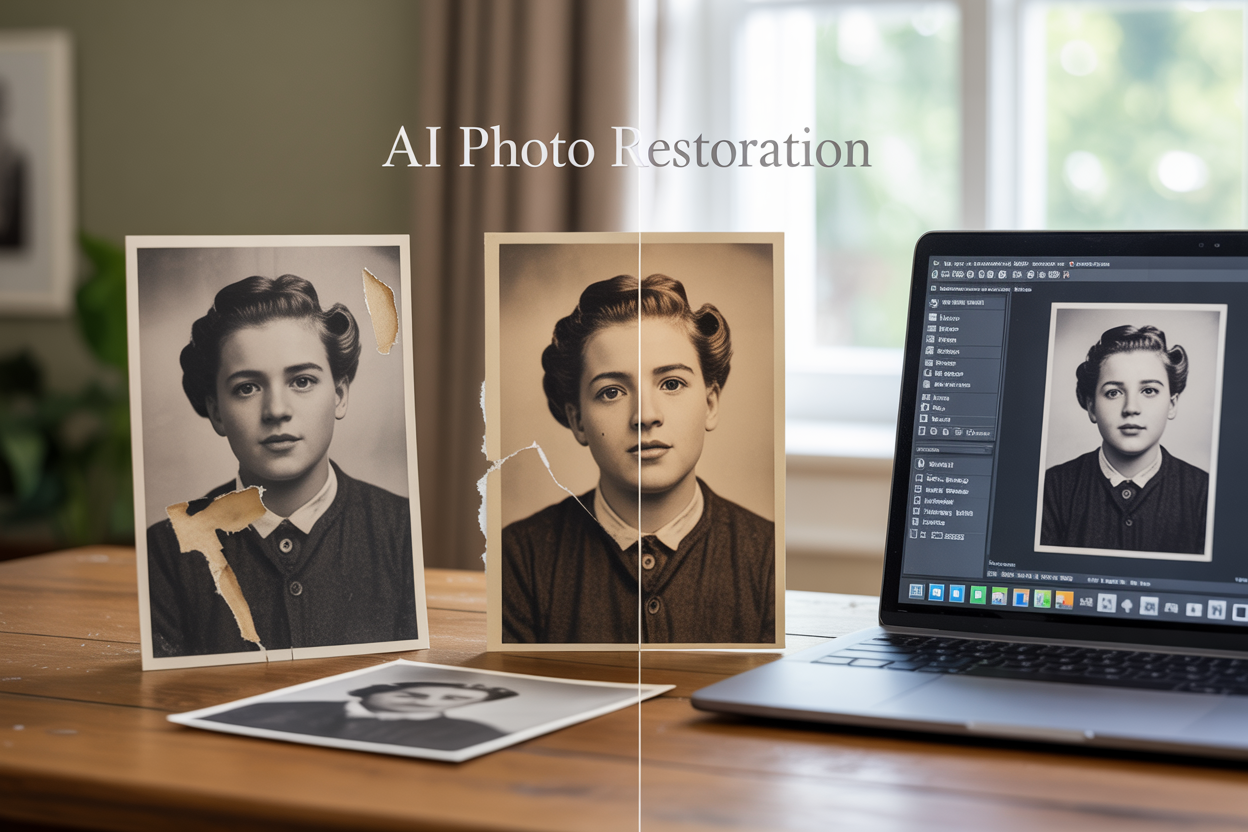
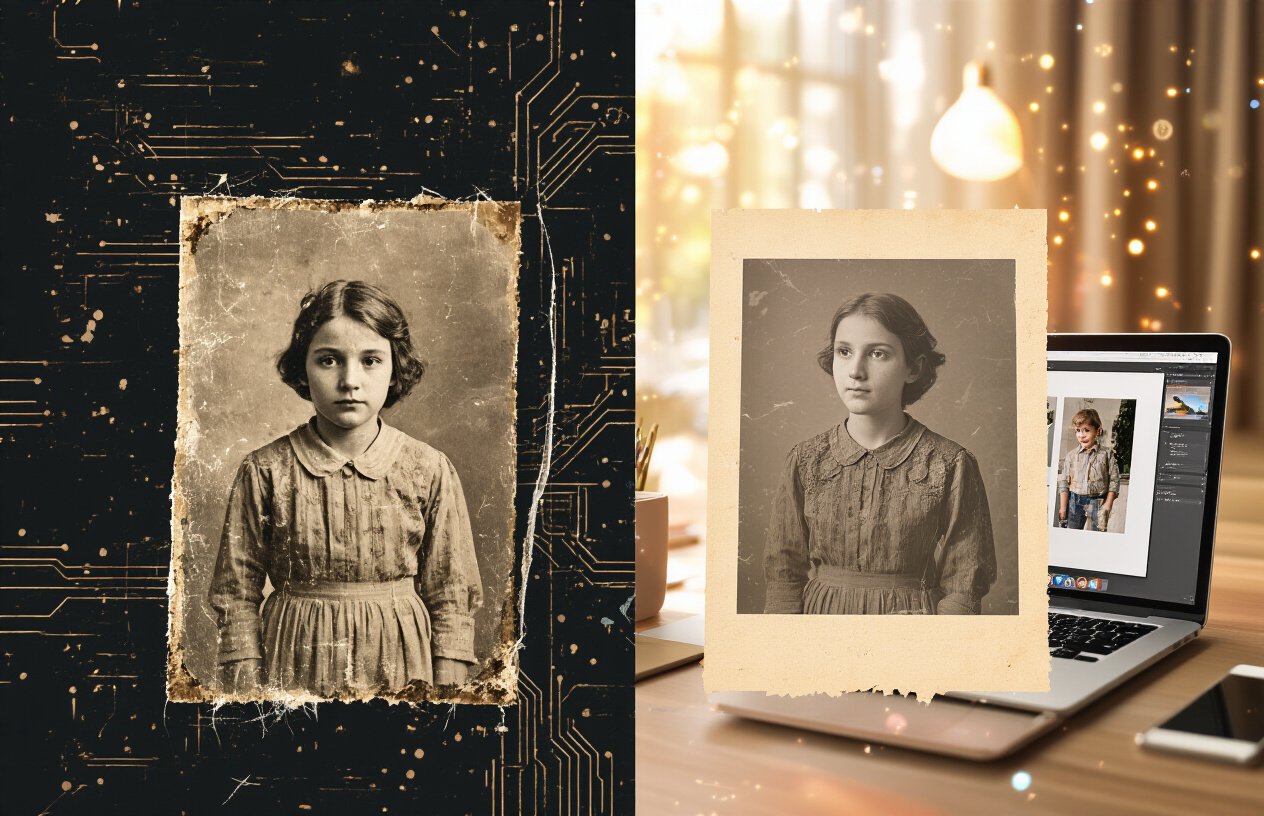
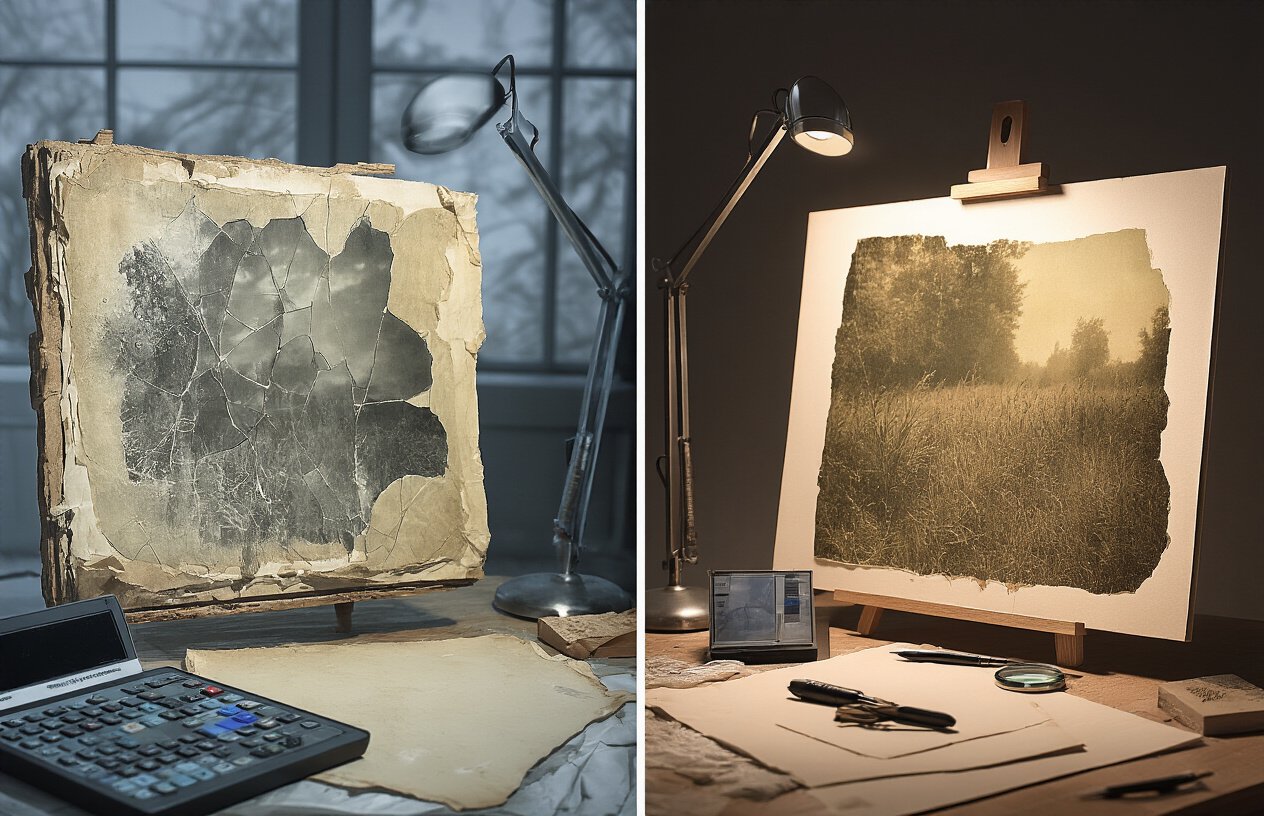
Your old family photos are fading away, taking precious memories with them. AI photo restoration technology can bring these treasured images back to life, and you don’t need to be a tech expert to use it.
This guide is for anyone who wants to save their family history – grandchildren discovering boxes of old photos, genealogy enthusiasts building family trees, or anyone ready to rescue fading memories before they disappear forever.
We’ll walk you through the essential AI photo restoration tools that actually work for everyday people, not just professionals. You’ll learn how to prepare your damaged photos for the best results and follow a simple step-by-step process that transforms faded, cracked, or torn images into clear, vibrant photos your family will treasure for generations.
Understanding AI Photo Restoration Technology
How artificial intelligence transforms damaged photographs
Artificial intelligence approaches photo restoration like a detective with an incredible memory. Instead of simply applying generic filters or adjustments, AI algorithms analyze millions of high-quality images to understand patterns in how photos typically look. When these systems encounter a faded family portrait, they don’t just brighten it randomly—they recognize faces, clothing textures, architectural elements, and even the photographic style of different eras.
The magic happens through neural networks that have been trained on countless before-and-after photo pairs. These systems learn to identify damage patterns like scratches, water stains, color shifts, and missing sections. Once they recognize the damage, they intelligently predict what the original content should look like based on surrounding context and their vast training database.
What makes this particularly powerful for family photos is the AI’s ability to understand human features and common photographic compositions. The technology can distinguish between a person’s natural skin tone and age-related discoloration in the photo itself. It recognizes when a dark area represents a shadow versus damage, and can even restore facial features that have become partially obscured over time.
Key differences between AI and traditional photo editing methods
Traditional photo editing requires manual intervention for every single problem area. You might spend hours carefully cloning nearby pixels to cover scratches, manually adjusting color channels to fix fading, or painstakingly painting over water damage. Each decision requires your judgment about what the original photo might have looked like.
| Traditional Methods | AI-Powered Restoration |
|---|---|
| Manual pixel-by-pixel editing | Automated intelligent analysis |
| Time-intensive process (hours per photo) | Quick processing (minutes per photo) |
| Requires advanced editing skills | User-friendly with minimal learning curve |
| Inconsistent results across different photos | Consistent quality based on trained patterns |
| Limited by user’s artistic ability | Leverages vast database of photographic knowledge |
AI restoration works more like having an expert photo restorer who has seen every type of damage imaginable. The software automatically detects problems and applies solutions that have proven successful on similar images. This doesn’t mean the AI is perfect—sometimes it makes assumptions that need human correction—but it provides an incredibly strong starting point that would take professionals hours to achieve manually.
The speed difference alone transforms the entire process. Where you might restore one precious family photo per weekend using traditional methods, AI can process entire photo albums in the time it takes to grab coffee.
Why AI excels at recovering lost details and colors
AI’s superpower lies in its pattern recognition abilities. When colors have shifted from decades of exposure to light, heat, or humidity, AI can identify what those colors originally were by analyzing the relationships between different color channels and comparing them to its training data of properly preserved photos from similar time periods.
The technology excels at edge detection and texture reconstruction. If part of grandma’s face is obscured by a scratch, the AI doesn’t just blur the area—it understands facial geometry and can predict the missing information based on the visible portions. This same principle applies to recovering details in clothing patterns, background elements, and even text that might appear in old photographs.
Color restoration represents one of AI’s most impressive capabilities. Old photos often develop color casts—everything might look too yellow, too blue, or completely sepia when it was originally color. AI systems can identify these shifts by analyzing the overall color distribution and comparing it to natural color patterns. They can separate intentional artistic choices (like sepia toning) from unwanted color degradation.
The technology also handles different types of photographic media exceptionally well. Whether you’re working with old Polaroids, faded color prints from the 1970s, or black-and-white photos that have yellowed with age, AI systems have been trained on examples from each era and understand the specific ways different photo types deteriorate over time.
Essential Tools for AI-Powered Photo Restoration
Free Online Platforms That Deliver Professional Results
MyHeritage In Color leads the pack for colorizing black and white photos, offering surprisingly accurate skin tones and natural color restoration. The platform’s AI has been trained on millions of historical photos, making it particularly effective for family portraits from the early-to-mid 20th century. Upload your image, wait about 30 seconds, and download professional-quality results without spending a dime.
Remini stands out for general photo enhancement, automatically sharpening blurry faces and adding detail to low-resolution images. The free tier allows several restorations per day, perfect for testing the waters before committing to premium features. Its face enhancement technology works exceptionally well on old portrait studio photos.
VanceAI Photo Restorer tackles more complex damage like scratches, tears, and water stains. While the free version includes watermarks, the restoration quality rivals expensive desktop software. The platform excels at batch processing, making it ideal when you’re working through boxes of damaged family photos.
Photomyne offers a unique combination of scanning and restoration. Their AI automatically detects photo boundaries when you photograph old albums, then applies enhancement filters to improve clarity and color balance. The free scanning feature alone saves hours of manual cropping work.
Mobile Apps That Restore Photos Instantly on Your Phone
Adobe Photoshop Camera brings professional-grade AI directly to your smartphone, with real-time filters that can preview restoration effects before you even take the shot when photographing old prints. The app’s “Pop” and “Portrait” filters work wonders on faded family photos, instantly adding vibrancy and sharpening facial features.
VSCO’s AI-powered editing tools shine when working with vintage aesthetics. The app’s grain removal feature effectively reduces the speckled appearance common in old film photographs, while its color correction algorithms can balance the yellow or blue tints that develop over time. The free version provides enough functionality for most restoration needs.
TouchRetouch specializes in removing unwanted elements from photos – perfect for eliminating those mysterious spots, stains, or even people who photobombed your ancestor’s wedding picture. The app’s smart removal technology fills in backgrounds seamlessly, making it appear as though the unwanted element was never there.
Snapseed, Google’s free photo editor, includes powerful healing tools that rival desktop software. The “Healing” brush removes blemishes and damage with simple finger taps, while the “HDR Scape” filter can bring back detail in overexposed or underexposed areas of old photos. The app’s non-destructive editing means you can always revert changes if needed.
Desktop Software for Advanced Restoration Projects
Adobe Photoshop remains the gold standard for complex restoration work, offering precise control over every aspect of the process. The Content-Aware Fill feature intelligently reconstructs missing portions of photographs, while the Healing Brush tools allow pixel-level precision when removing scratches or tears. For serious restoration projects involving severely damaged family heirlooms, Photoshop’s layer system enables non-destructive editing that preserves your original scan.
GIMP provides nearly identical functionality to Photoshop without the subscription cost. The Clone Tool and Healing Tools work exceptionally well for repairing torn photos, while the Curves and Levels adjustments can rescue photos with extreme fading. The learning curve is steeper than online tools, but the results justify the investment in time.
Luminar AI focuses specifically on artificial intelligence-driven enhancements, making it perfect for users who want professional results without mastering complex techniques. The Sky Replacement feature can restore washed-out backgrounds in outdoor family photos, while the Face AI automatically brightens and sharpens facial features in portraits.
ON1 Photo RAW combines the power of desktop editing with AI-assisted features. Its Masking AI automatically selects specific areas like sky, water, or people, making selective adjustments incredibly simple. The Portrait AI feature specifically targets common issues in old family photos, such as skin blemishes and eye enhancement.
Cloud-Based Solutions for Bulk Photo Processing
Google Photos automatically applies basic AI enhancements to uploaded images, including color pop, brightness adjustment, and face sharpening. While subtle, these improvements can bring life back to faded family photos when you upload entire albums. The platform’s facial recognition also helps organize photos by family member, creating automatic albums that span decades.
Amazon Photos leverages AWS’s machine learning capabilities to offer print enhancement services. Upload your photos to Prime Photos, and the platform can automatically improve color balance and sharpness for professional printing. The service works particularly well when preparing restored photos for physical albums or wall displays.
Canva’s Background Remover and Magic Eraser tools work through your browser, making them perfect for quick touch-ups on multiple photos. While not specifically designed for restoration, these tools excel at cleaning up backgrounds and removing unwanted elements from family photos before sharing them digitally.
PhotoAI.com specializes in batch processing old photos, offering subscription plans that make sense when you have hundreds of images to restore. The platform’s AI can automatically detect and correct common issues like red-eye, poor lighting, and color cast across entire photo collections. Results download as high-resolution files ready for printing or digital sharing.
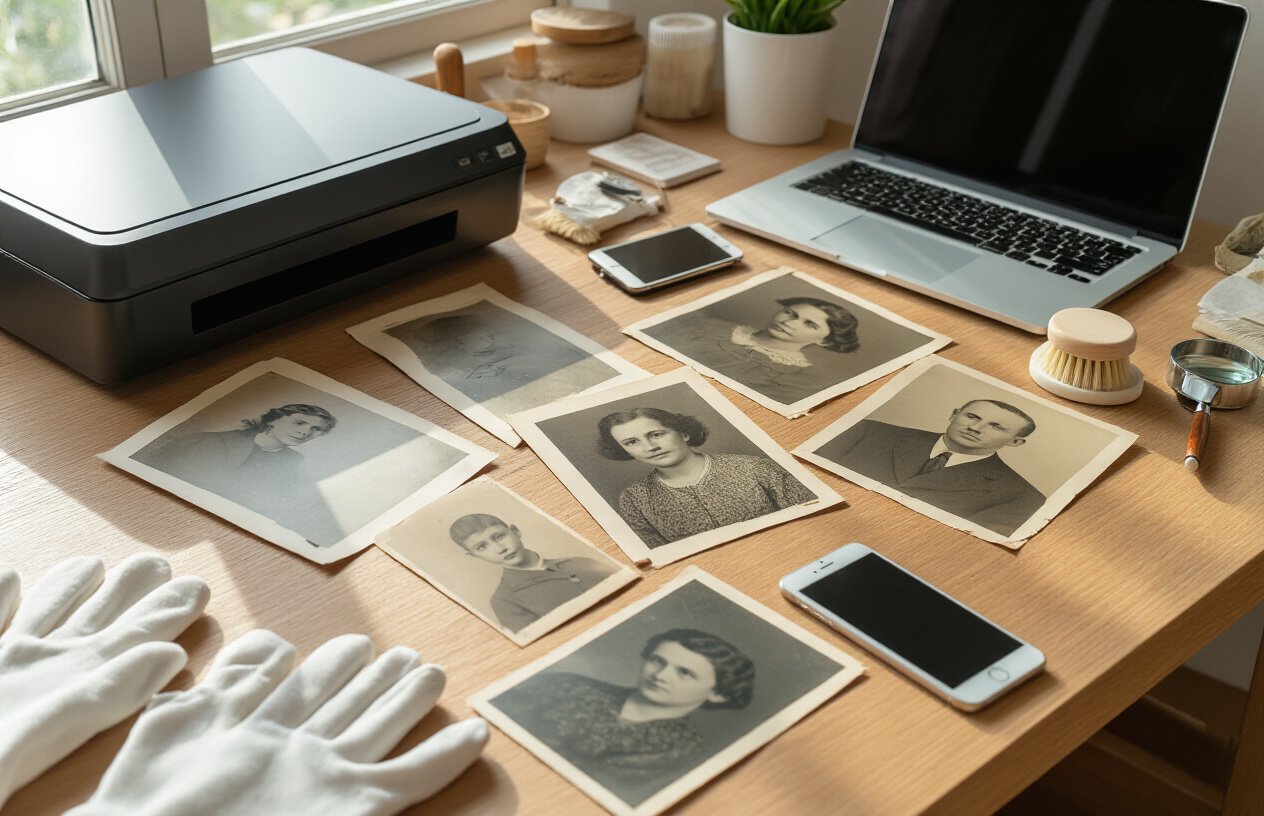
Preparing Your Faded Photos for Digital Restoration
Proper scanning techniques to capture maximum detail
Getting the best scan from your faded photos requires more than just placing them on a flatbed scanner and hitting the button. Start by cleaning your scanner glass with a microfiber cloth and isopropyl alcohol to remove any dust or fingerprints that could show up in your digital files.
Position your photos carefully on the scanner bed, ensuring they’re completely flat against the glass. Even tiny air pockets can create soft spots in your scan. If your photos are curled or warped, place a clean piece of glass over them (book covers work great) to hold them flat without applying excessive pressure that might damage fragile prints.
Scanner settings make a huge difference in capturing hidden detail. Always scan in color mode, even for black and white photos – faded images often retain color information that AI restoration tools can work with. Preview your scan first and adjust the scanning area to focus only on the photo, avoiding unnecessary background that increases file size.
Multiple scanning passes can reveal different details. Try scanning the same photo with different brightness and contrast settings. Sometimes a slightly overexposed scan captures shadow details that a normal exposure misses, while an underexposed scan preserves highlight information.
For extremely fragile photos, consider using a high-quality digital camera with macro capabilities instead of a flatbed scanner. This method eliminates physical contact with the photo surface and can be faster for large collections.
Choosing the right resolution and file formats
Resolution choices directly impact how much detail AI restoration tools have to work with. For most family photos, 600 DPI provides an excellent balance between file size and detail capture. This resolution preserves fine textures in skin, fabric, and background elements that restoration algorithms need to make accurate improvements.
Larger photos or those you plan to enlarge significantly should be scanned at 1200 DPI or higher. Small wallet-sized photos benefit from even higher resolutions – up to 2400 DPI – since the original detail density is much higher per square inch.
File format selection affects both quality and compatibility with restoration software:
| Format | Best Use | Pros | Cons |
|---|---|---|---|
| TIFF | Archival originals | Lossless, widely supported | Large file sizes |
| PNG | Working copies | Lossless, smaller than TIFF | Limited metadata support |
| JPEG | Sharing/web use | Small files, universal support | Quality loss with editing |
Always save your master scans as uncompressed TIFF files. These become your digital negatives – the highest quality versions you’ll return to for different restoration projects. Create PNG working copies for actual editing to avoid the quality degradation that comes with repeatedly saving JPEG files.
Color depth matters too. Scan at 48-bit color depth when your scanner supports it. This captures subtle color variations that might not be visible now but could become important during the restoration process.
Basic cleaning methods before digitization
Physical cleaning before scanning can dramatically improve your results, but approach delicate photos with extreme caution. Never attempt cleaning on irreplaceable one-of-a-kind photos without consulting a professional conservator first.
For stable photos printed on photographic paper, start with the gentlest approach. Use a clean, soft-bristled brush (a clean makeup brush works perfectly) to remove surface dust. Brush in one direction only, from the center of the photo toward the edges, to avoid grinding particles into the image surface.
Stubborn dust or light surface dirt on stable photos can often be removed with a slightly damp cotton swab. Use distilled water only – tap water contains minerals that can leave deposits. Test this method on an edge or corner first to make sure the photo surface can handle moisture without damage.
Remove photos from old magnetic albums immediately, as the adhesive continues to damage photos even while they’re in storage. Dental floss makes an excellent tool for gently separating photos from album pages. Work slowly and patiently – rushing this process can tear photos that might otherwise be salvageable.
For photos with tape or adhesive residue, don’t attempt removal yourself unless you’re working with duplicates. These situations often require specialized solvents and techniques that can easily damage photos in untrained hands.
Store cleaned photos in acid-free boxes or sleeves while you work through your scanning project. This prevents re-contamination and protects them from new damage.
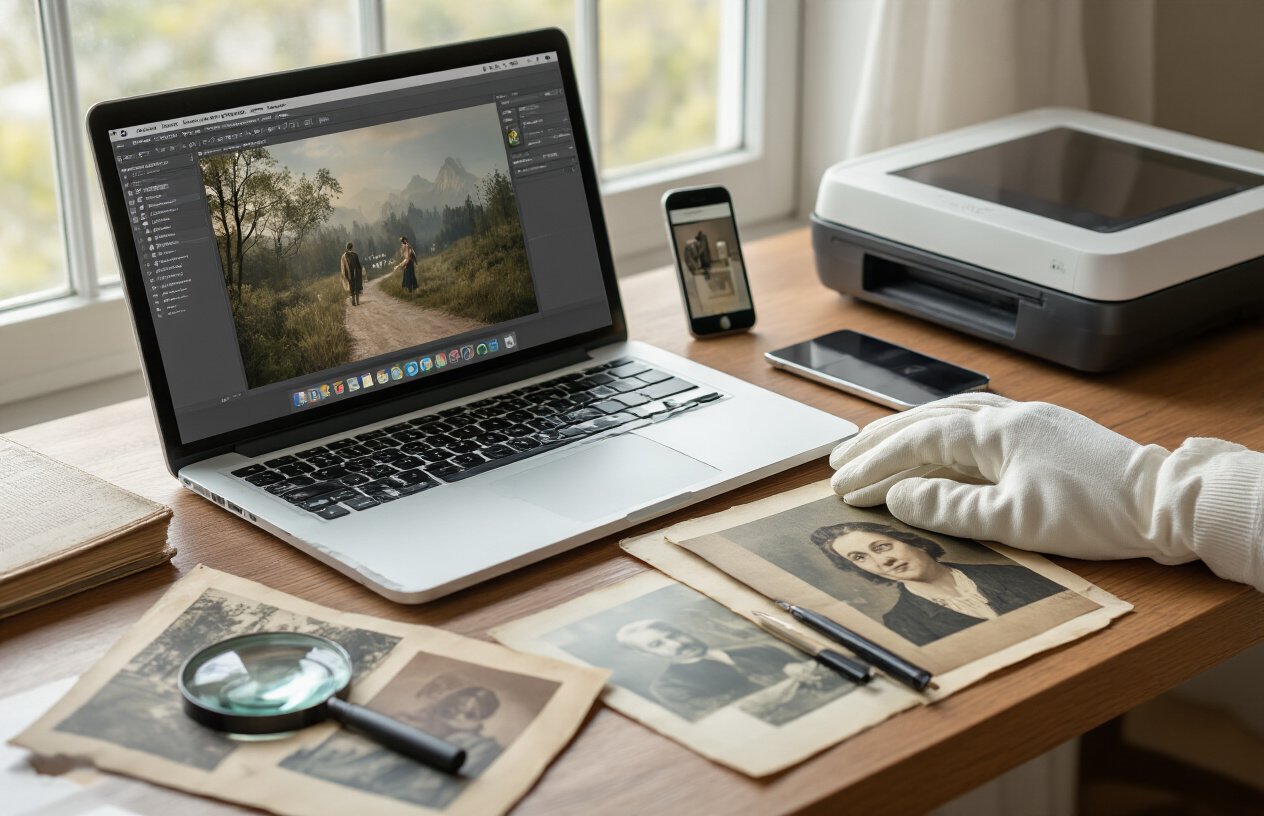
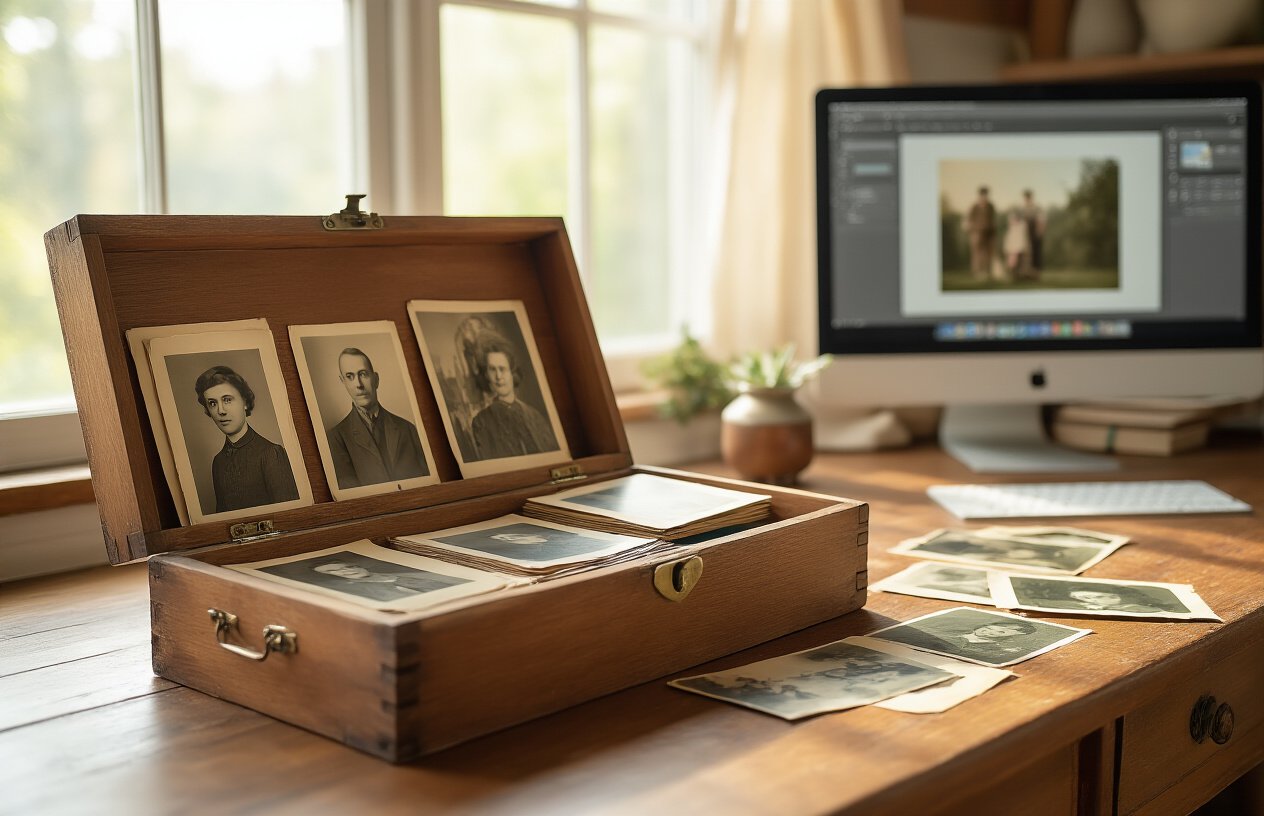
Step-by-Step AI Photo Restoration Process

Uploading and organizing your photos efficiently
Start by creating dedicated folders on your device before uploading anything to your chosen AI restoration tool. Name them clearly – “Original Scans,” “In Progress,” and “Completed Restorations” work perfectly. This simple system prevents the chaos of lost files and duplicate work later.
Most AI photo restoration platforms accept JPEG, PNG, and TIFF files. Scan your physical photos at 600 DPI or higher for best results. If you’re working with digital photos that are already on your computer, gather them all in one location first.
Upload photos in small batches of 5-10 images rather than dumping your entire collection at once. This approach helps you track progress and prevents overwhelming the AI processing queue. Many platforms have upload limits anyway, so working in batches keeps things smooth.
Create a simple spreadsheet or note-taking system to track each photo’s status. Include details like the original photo date, family members pictured, and any specific damage you want the AI to address. This information becomes invaluable when you’re managing dozens of family photos through the restoration process.
Selecting the appropriate AI enhancement settings
Different types of photo damage require different AI approaches. Most restoration tools offer preset options like “Color Restoration,” “Scratch Removal,” or “General Enhancement.” Start with these presets before diving into manual adjustments.
For black and white photos with minor fading, choose gentle enhancement settings. Heavy-handed processing can create an artificial, over-sharpened look that destroys the photo’s authentic character. Color photos from the 1970s and 1980s often benefit from saturation adjustments and color correction features.
| Damage Type | Recommended Setting | Intensity Level |
|---|---|---|
| Light fading | Color enhancement | Low-Medium |
| Scratches/tears | Damage repair | Medium-High |
| Severe discoloration | Full restoration | High |
| Water damage | Stain removal + enhancement | Variable |
Pay attention to skin tones when working with portraits. AI sometimes overcorrects, making people look unnaturally smooth or changing skin colors. Most tools have specific portrait modes that handle facial features more carefully.
Fine-tuning results for optimal quality
After the initial AI processing, zoom in to examine details closely. Check areas like faces, text, and intricate patterns where AI might struggle or create artifacts. Small adjustments often make huge differences in the final result.
Adjust the restoration strength gradually. Start at 50% intensity and work your way up. You can always increase the effect, but it’s harder to dial back an overly processed image. Look for the sweet spot where damage disappears without losing the photo’s natural texture.
Use the comparison slider feature that most platforms provide. Toggle between the original and restored versions frequently to avoid going overboard with enhancements. Sometimes what looks good at first glance appears artificial when compared side-by-side with the original.
Focus on one type of correction at a time. Fix scratches first, then work on color correction, and finally adjust brightness and contrast. This layered approach gives you better control over each element and produces more natural-looking results.
Comparing before and after results
Save your work regularly during the restoration process. Take screenshots or save intermediate versions so you can backtrack if needed. This habit saves hours of re-work when you realize you preferred an earlier version.
Use a systematic approach for evaluation. Look at the restored photo on different devices and screen brightnesses. What looks perfect on your laptop might appear too bright or too dark on your phone or when printed.
Create side-by-side comparison images for your family archive. These before-and-after pairs tell a compelling story about preserving family history and help family members appreciate the restoration work you’ve done.
Saving and exporting in multiple formats
Export your restored photos in at least two formats: high-resolution TIFF files for archival purposes and standard JPEG files for easy sharing. The TIFF files preserve maximum quality for future use, while JPEGs are perfect for emails, social media, and everyday viewing.
Choose appropriate file names that include dates and family member names. “1952_Wedding_John_Mary_Restored.tiff” tells you everything you need to know at a glance. Avoid generic names like “IMG_001” that become meaningless over time.
Set up automatic backup systems for your restored photos. Cloud storage services, external drives, or both provide insurance against losing your hard work. Family photos are irreplaceable, and restored versions represent hours of careful effort you don’t want to repeat.
Advanced Techniques for Challenging Photo Damage
Restoring severely cracked or torn photographs
When dealing with severely damaged photos, AI restoration tools shine brightest. Deep cracks and tears that once seemed impossible to fix can now be addressed with remarkable precision.
Start by scanning your damaged photo at the highest resolution possible – aim for at least 600 DPI. The extra detail gives AI algorithms more information to work with. For photos with multiple tears, scan each piece separately if they’ve come apart, then use AI-powered stitching features to reassemble them digitally.
Key restoration steps:
- Upload high-resolution scans to AI restoration platforms like MyHeritage In Color or Remini
- Use the “crack repair” or “damage restoration” settings specifically
- Apply restoration in stages rather than all at once for better control
- Fine-tune results using manual touch-up tools when needed
For stubborn damage, try running the same photo through different AI tools. Each platform uses unique algorithms, and combining their strengths often produces superior results than relying on a single tool.
Recovering photos with water damage or stains
Water-damaged photos present unique challenges that require specialized AI approaches. The good news? Modern AI can distinguish between original image content and water stains with surprising accuracy.
Begin by photographing or scanning water-damaged photos while they’re completely dry. Moisture can cause additional damage during the digitization process. If photos are stuck together, never force them apart – this creates more tears and damage.
Effective water damage restoration workflow:
- Clean scanner glass thoroughly to avoid mistaking dust for damage
- Scan at maximum resolution with color correction disabled initially
- Use AI tools with specific “stain removal” capabilities like GFPGAN or Real-ESRGAN
- Apply color restoration after structural repairs are complete
For photos with severe discoloration, upload both color and black-and-white versions to your AI tool. Sometimes the grayscale version provides clearer structural information that helps the AI understand what needs restoration versus what should be preserved.
Enhancing extremely faded or yellowed images
Faded photos often contain more recoverable detail than they appear to have. AI excels at pulling hidden information from seemingly blank areas of old photographs.
Before AI processing, adjust your scan settings to capture the fullest possible tonal range. Use 16-bit color depth if your scanner supports it, and disable any automatic color correction that might clip important shadow and highlight details.
Fading restoration techniques:
- Process faded photos through colorization AI even if originally black and white
- Use contrast enhancement features before detail restoration
- Apply noise reduction sparingly – some grain contains recoverable detail
- Experiment with different AI models trained specifically on vintage photography
For severely yellowed images, try the “sepia removal” features in tools like AI Photo Enhancer or DeOldify. These algorithms can often recover original tones that human eyes can no longer detect in the yellowed original.
Remember that extremely faded photos might need multiple passes through different AI tools. Start with structure and detail recovery, then move to color and contrast enhancement. Each step builds on the previous improvements, gradually bringing your family memories back to life.
Organizing and Preserving Your Restored Family Photos
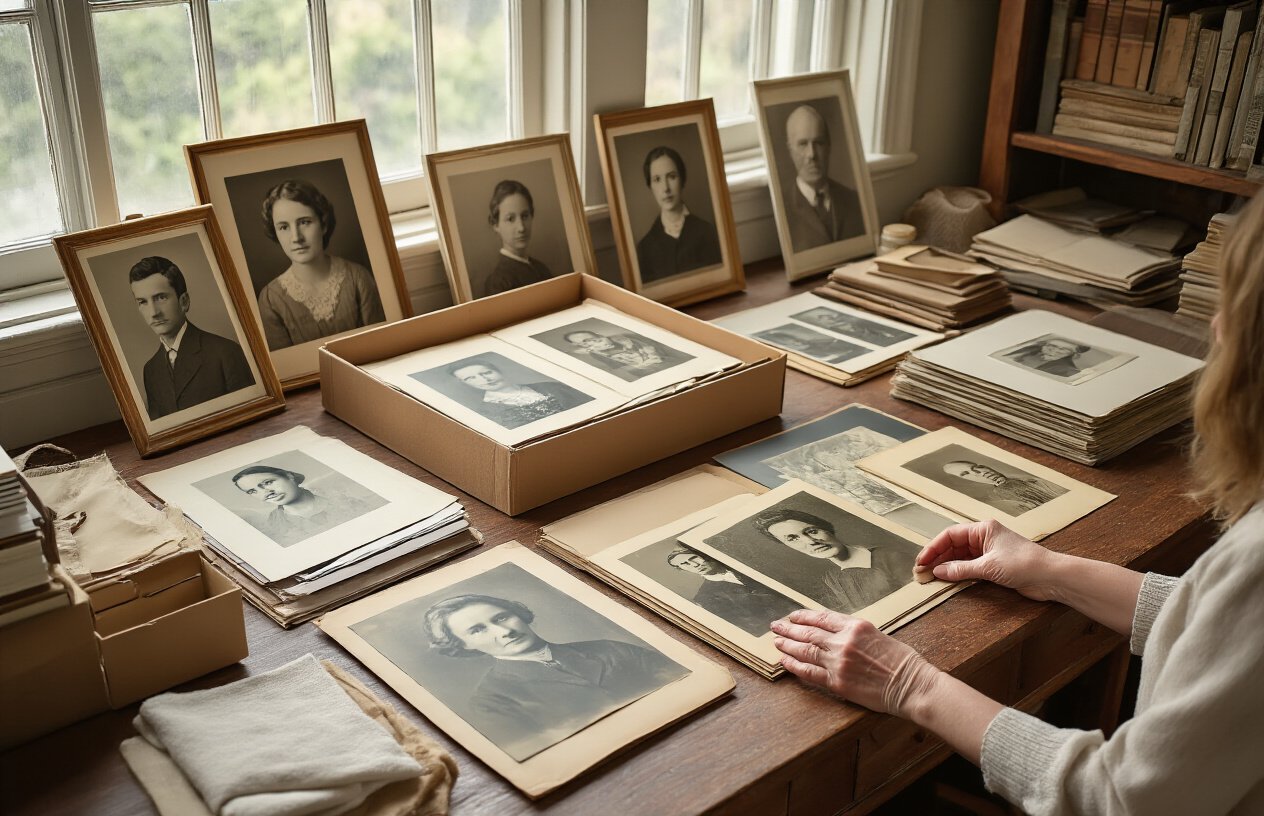
Creating digital archives that last generations
Building a digital archive isn’t just about dumping photos into a folder on your computer. You need a system that your grandchildren can actually navigate and understand decades from now. Start by creating a clear folder structure with years, events, and family branches. Name your files descriptively – “John_Smith_Wedding_1952.jpg” beats “IMG_001.jpg” every time.
Choose file formats that stand the test of time. JPEG works for everyday sharing, but save your master files as TIFF or PNG to preserve maximum quality. Include metadata like names, dates, and locations directly in the file properties. This information travels with the photo, making it searchable even if someone moves files around later.
Create a simple spreadsheet or document that explains your organizational system. Write down who’s who in the photos, especially for future generations who won’t recognize distant relatives. Include stories and context – the technical details of restoration matter less than the human connections these images represent.
Backing up restored photos across multiple platforms
The 3-2-1 rule saves countless precious memories: keep three copies of important files, store them on two different types of media, and keep one copy offsite. Your restored family photos deserve this level of protection.
Cloud storage services like Google Drive, Dropbox, or iCloud offer convenient automatic backups. Set up folders that sync across devices so your entire family can access the collection. However, don’t rely solely on cloud storage – companies change policies, and accounts sometimes get suspended.
Physical backups remain crucial. External hard drives provide fast access and large storage capacity, but they can fail. Optical media like DVDs or Blu-ray discs last longer but hold less data. Consider using both for complete protection.
Update your backup strategy every few years. Technology changes, and storage media that seems permanent today might become obsolete tomorrow. Migration isn’t just moving files – it’s ensuring future generations can actually open and view your carefully restored memories.
Sharing restored memories with family members
Getting restored photos into the hands of family members shouldn’t require a computer science degree. Create simple sharing systems that work for tech-savvy teenagers and tech-reluctant grandparents alike.
Family sharing apps make distribution effortless. Google Photos, Apple’s Family Sharing, or Amazon Photos let you create shared albums where everyone can contribute their own photos and view restored images. Set up automatic uploads so new restorations appear instantly for the whole family.
For relatives who prefer physical copies, consider creating photo books through services like Shutterfly or Costco. These professionally printed books showcase your restoration work beautifully and provide something tangible to pass down.
Email remains surprisingly effective for sharing individual photos. Resize images appropriately – full-resolution files might bounce back due to size limits. Include the stories behind the photos in your email text, turning each share into a mini family history lesson.
Creating physical prints from digital restorations
Your digital restoration work deserves to live in the physical world too. Modern printing technology can reproduce the subtle details and colors you’ve carefully restored, but choosing the right printing method matters enormously.
Professional photo labs typically produce superior results compared to home printers. Services like Costco, CVS, or online specialists like Nations Photo Lab understand color management and use high-quality papers that resist fading. Upload your files directly to avoid compression artifacts from email attachments.
Paper choice affects longevity and appearance. Matte papers hide minor imperfections and create a vintage feel perfect for historical photos. Glossy papers make colors pop and work well for more recent family snapshots. Pearl or luster finishes split the difference, offering subtle texture without glare.
Size your prints thoughtfully. Large prints reveal restoration details beautifully but also highlight any remaining flaws. Standard sizes like 4×6 or 5×7 work well for sharing, while 8×10 or larger prints become focal points worthy of framing. Consider creating multiple sizes – small prints for sharing and larger ones for display.
Store printed photos properly to preserve your restoration investment. Acid-free albums and archival sleeves prevent yellowing and deterioration. Keep prints away from direct sunlight and humid environments that can cause fading and warping over time.
Your family’s precious memories don’t have to fade away with time. AI photo restoration technology has made it incredibly easy to bring old, damaged photos back to life without needing expensive software or professional help. From understanding the basics of how these tools work to organizing your restored collection, you now have everything you need to start saving your family history.
The beauty of modern AI restoration tools is that they do most of the heavy lifting for you. By following the step-by-step process and properly preparing your photos, you can transform those cracked, faded family treasures into vibrant keepsakes that future generations will cherish. Start with your most important photos and work your way through your collection – every restored image is another piece of your family story preserved for years to come.