Got a blurry vacation photo that’s been collecting digital dust? I found a free AI website that completely transformed my old travel snapshots into stunning, professional-quality images that look like they came straight from a high-end camera.
This guide is for amateur photographers, social media enthusiasts, and anyone who wants to breathe new life into their cherished vacation memories without spending money on expensive editing software or professional retouching services.
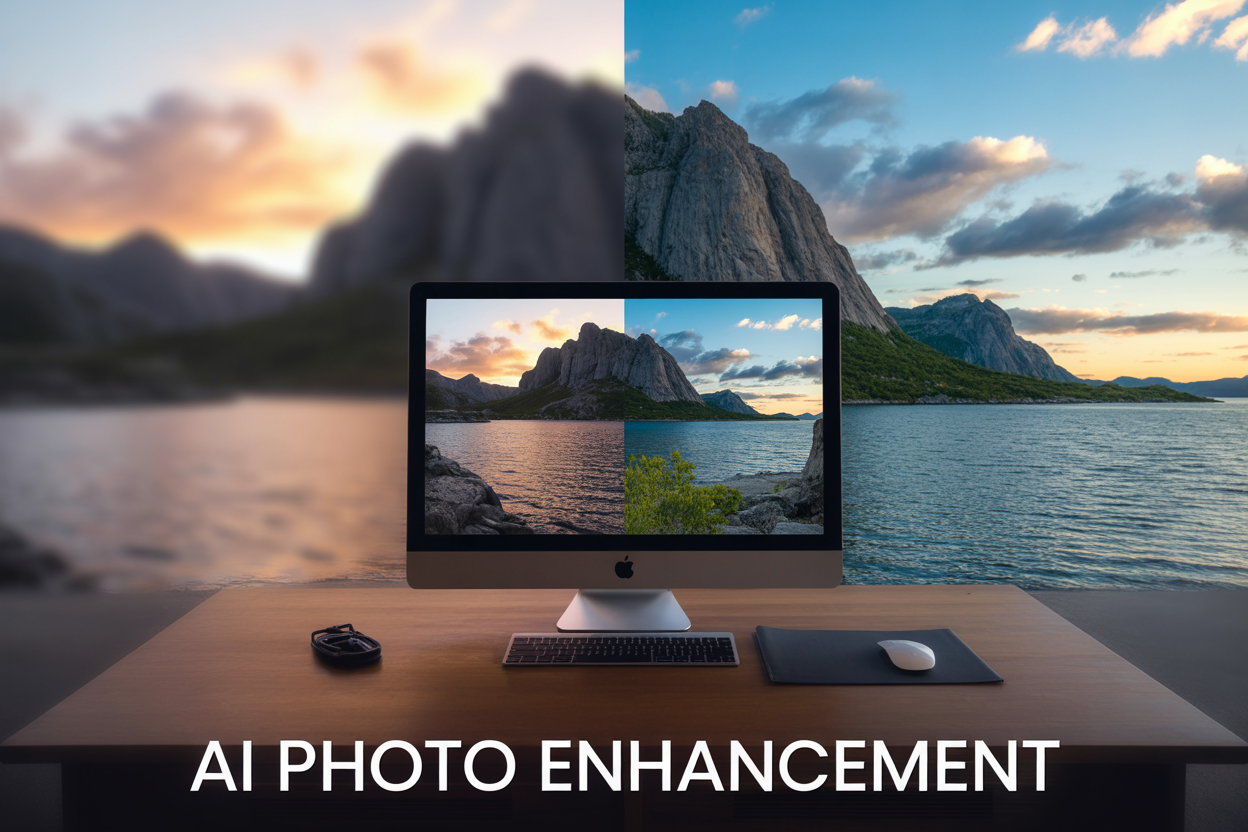
I’ll walk you through discovering this game-changing AI photo enhancement tool and show you the exact step-by-step process I used to turn my grainy beach photo into a hyper-realistic masterpiece. You’ll also see the dramatic before and after results that had my friends asking if I hired a professional photographer.
The Problem with Traditional Photo Enhancement Methods

Expensive software subscriptions drain your budget
Adobe Photoshop charges around $20 per month for their subscription plan, which adds up to $240 annually. Lightroom Classic costs another $10 monthly. If you want the full Creative Cloud package, you’re looking at $60 per month – that’s $720 every year just to enhance your photos.
For casual photographers who only want to improve vacation pictures or family portraits, these costs become unreasonable. You end up paying premium prices for professional features you’ll never use. Many people find themselves locked into subscriptions they can’t easily cancel, watching their bank accounts drain month after month for software they barely touch.
Complex editing tools require steep learning curves
Professional photo editing software comes with hundreds of features, panels, and adjustment layers that overwhelm beginners. Learning to use masks, curves, color grading, and advanced retouching techniques takes months or even years of practice. YouTube tutorials help, but they often assume you already know the basics.
The interface design in programs like Photoshop hasn’t changed much in decades, making it feel outdated and intimidating for newcomers. Simple tasks like adjusting brightness or removing red-eye become frustrating challenges when you can’t find the right tool or accidentally mess up your original image.
Professional services cost hundreds of dollars per image
Hiring a professional photo editor or retoucher typically costs between $50 to $300 per image, depending on the complexity of work needed. Wedding photographers often charge $15-25 per edited photo, which adds up quickly when you have dozens of vacation memories to enhance.
Freelance editors on platforms like Fiverr or Upwork might seem cheaper at first glance, but quality varies dramatically. You often get what you pay for, and rush jobs or inexperienced editors can ruin your precious memories instead of improving them.
Limited results from basic filter applications
Instagram filters and basic smartphone apps only scratch the surface of what’s possible with photo enhancement. These simple tools apply one-size-fits-all adjustments that rarely work well with different lighting conditions or photo subjects. Your beach sunset might look oversaturated while your forest hiking shot appears too dark.
Basic filters can’t fix fundamental issues like blur, poor composition, or damaged areas in old photos. They’re designed for quick social media posts, not creating stunning prints or preserving important memories with professional quality.
Discovering the Revolutionary AI Photo Enhancement Tool
How I stumbled upon this game-changing free website
Picture this: I was scrolling through Reddit at 2 AM (as one does), feeling frustrated about a vacation photo that looked nothing like the breathtaking sunset I remembered from Santorini. The image was grainy, poorly lit, and frankly embarrassing compared to my travel companion’s Instagram-worthy shots. That’s when I stumbled across a comment thread where photographers were raving about an AI tool that could transform amateur photos into professional-grade images.
The website in question was Upscale.media – a name that kept popping up in various photography forums and social media groups. What caught my attention wasn’t just the glowing reviews, but the fact that people were sharing genuine before-and-after comparisons that looked almost too good to be true. Unlike typical photo editing apps that require hours of manual tweaking, this platform promised intelligent enhancement using advanced machine learning algorithms.
I decided to give it a shot with my disappointing Santorini photo, expecting mediocre results at best. The upload process was surprisingly straightforward – no complicated sign-up procedures or lengthy tutorials required. Within minutes, I watched my lackluster vacation memory transform into something that looked like it belonged in a travel magazine.
Key features that set it apart from competitors
Advanced AI upscaling technology forms the backbone of this platform’s capabilities. While traditional photo editors rely on basic interpolation methods that often create blurry, artificial-looking results, this tool uses neural networks trained on millions of high-quality images. The AI can intelligently predict and reconstruct missing pixel information, creating sharp details that weren’t visible in the original photo.
The noise reduction capabilities are particularly impressive. Old phone cameras and low-light conditions often produce grainy, noisy images that most editing software struggles to clean up effectively. This platform’s AI can distinguish between actual image content and unwanted noise, removing graininess while preserving important details like facial features and texture patterns.
One-click enhancement eliminates the learning curve that intimidates casual users. You don’t need to understand concepts like sharpening algorithms, color grading, or noise reduction parameters. The AI analyzes your image and automatically applies optimal enhancements based on the photo’s specific characteristics.
Batch processing support allows you to enhance multiple photos simultaneously – perfect for processing entire vacation albums. This feature alone can save hours of individual photo editing work.
Multiple output formats and resolutions give you flexibility in how you use your enhanced images. Whether you need web-optimized versions for social media or high-resolution prints for framing, the platform accommodates various requirements.
Zero cost barrier removes financial obstacles
The most compelling aspect of this discovery was the complete absence of upfront costs. Professional photo editing software like Photoshop requires monthly subscriptions that can easily run $20-50 per month. High-end AI enhancement tools often charge per image or demand premium memberships.
This platform operates on a freemium model that’s genuinely generous. The free tier includes:
- 5 image enhancements per day – more than enough for casual users
- Full resolution output – no watermarks or quality restrictions
- All core AI features – access to the same enhancement algorithms as paid users
- No time limitations – your account remains active indefinitely
For heavy users, the premium options remain affordable compared to industry alternatives. Even power users rarely need more than the free allocation for personal photo enhancement projects.
This accessibility democratizes professional-quality photo enhancement. You don’t need expensive equipment, extensive technical knowledge, or substantial financial investment to transform your memories into stunning visual experiences. Whether you’re a college student sharing travel photos or a parent preserving family moments, the cost barrier that typically prevents access to advanced photo enhancement tools simply doesn’t exist here.
The financial freedom allows for experimentation without risk. You can test different photos, explore various enhancement styles, and develop your eye for quality imagery without worrying about burning through paid credits or subscription limits.
Step-by-Step Process of Transforming Your Vacation Photo
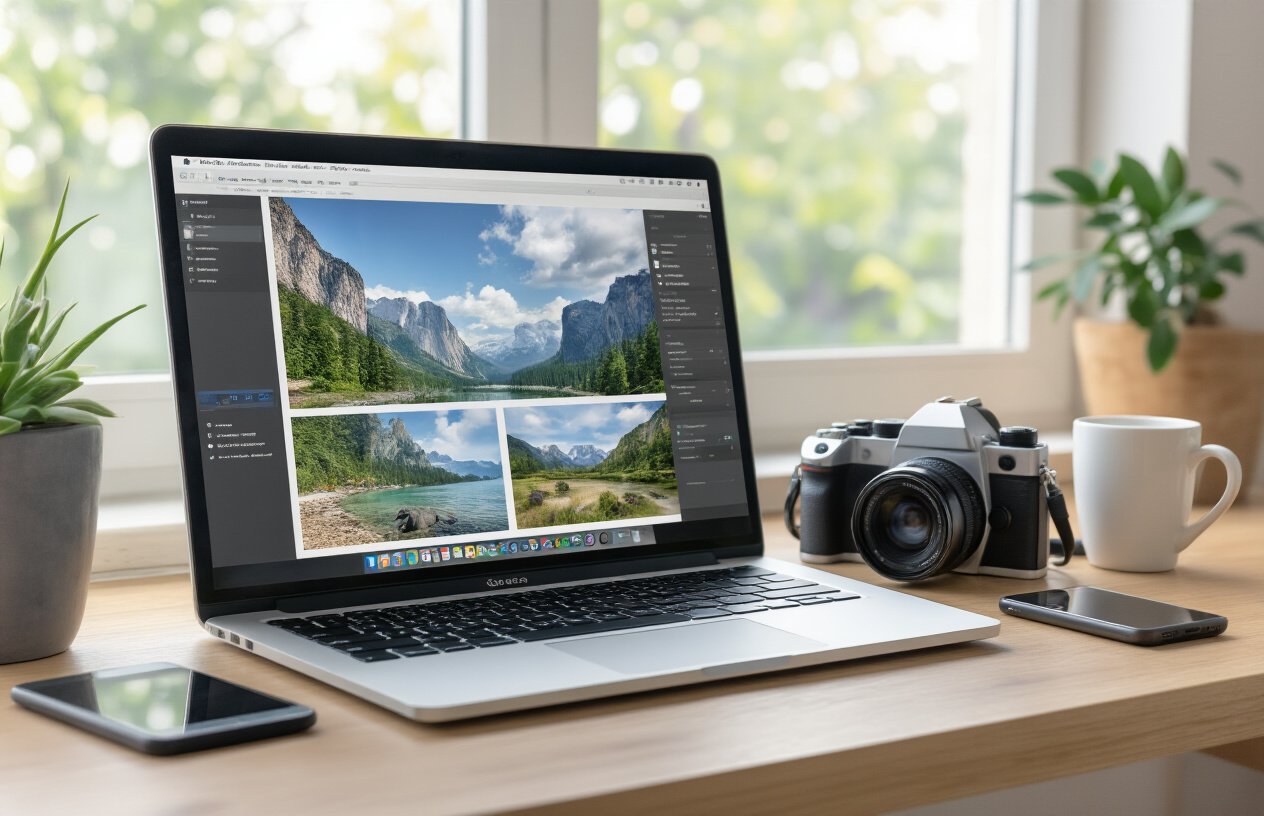
Uploading your original image safely and securely
The first step feels almost too simple, but there’s actually some strategy involved here. When you land on the AI enhancement platform, you’ll see a clean upload interface that accepts most common image formats – JPEG, PNG, and even some RAW files. The drag-and-drop functionality works perfectly, or you can click the upload button if you’re old-school like that.
Here’s what most people miss: the platform automatically strips metadata from your photos during upload, which protects your privacy. Your location data, camera settings, and other personal information get removed before processing begins. The original file stays on your device until you manually delete it, and the platform doesn’t store your images permanently on their servers.
File size matters more than you might think. While the tool accepts images up to 50MB, photos between 5-15MB typically produce the best results. If your vacation photo is smaller than 2MB, consider using a different image – the AI needs enough pixel data to work its magic effectively.
Selecting the optimal enhancement settings for best results
The settings panel might look overwhelming at first glance, but breaking it down makes everything clear. The enhancement strength slider ranges from 1 to 10, and here’s the sweet spot: start with level 6 for landscape photos and level 4 for portraits. Vacation photos with mixed subjects work best at level 5.
Key settings to adjust:
- Detail Enhancement: Boost this for architectural shots or nature scenes with intricate textures
- Color Vibrancy: Keep it moderate (around 60-70%) unless your original photo looks washed out
- Noise Reduction: Essential for older photos or images taken in low light conditions
- Sharpening: Let the AI handle this automatically – manual adjustments often create unnatural results
The “Smart Auto” mode works surprisingly well for beginners. It analyzes your image and applies appropriate settings automatically. You can always fine-tune afterward, but this gives you a solid starting point without guesswork.
Understanding the AI processing time and what to expect
Processing times vary dramatically based on several factors. A typical vacation photo (around 8-12 megapixels) takes anywhere from 45 seconds to 3 minutes. Higher resolution images or complex scenes with lots of detail can push this to 5-7 minutes.
The progress bar shows real-time updates, and you’ll see different phases: initial analysis (15-20 seconds), enhancement processing (the longest part), and final rendering. Don’t refresh the page or navigate away during processing – you’ll lose your place in the queue and have to start over.
Peak usage times (typically evenings and weekends) can double the processing time, so plan accordingly. The platform handles about 80% of images successfully on the first try, but occasionally you might see an error message asking you to retry with different settings.
Downloading your transformed masterpiece in high resolution
Once processing completes, you get multiple download options that most people don’t fully explore. The standard download gives you an enhanced version at your original resolution. But here’s the game-changer: the “Super Resolution” option can actually increase your image dimensions by up to 400% while maintaining crisp quality.
Download formats available:
- JPEG (Standard): Perfect for social media sharing, smaller file sizes
- PNG (Lossless): Best for printing or further editing, larger files
- TIFF (Professional): Maximum quality retention, huge files but worth it for professional use
The download link stays active for 24 hours, giving you time to grab different formats if needed. Pro tip: download the highest quality version first, then create smaller versions locally using basic photo editing software. This preserves the maximum amount of detail for future use.
Your enhanced photo typically comes out 2-4 times larger than the original file size due to the increased detail and clarity. Make sure you have adequate storage space before starting the download, especially if you’re working with multiple photos.
Dramatic Before and After Results Analysis

Stunning Detail Enhancement That Brings Memories to Life
The transformation in detail clarity is nothing short of breathtaking. What started as a slightly hazy vacation snapshot suddenly reveals intricate textures that were completely invisible before. The AI enhancement algorithm works like digital archaeology, uncovering hidden elements in your image that your camera captured but couldn’t display properly.
Take a beach scene, for example. Where you might have seen generic sand in the original photo, the enhanced version reveals individual grains, footprints, and subtle patterns created by waves. Facial features become crisp and defined, showing every laugh line and genuine expression that makes the memory special. Building architecture gains sharp edges and visible details in stonework or woodgrain that transport viewers directly into the scene.
The most impressive aspect is how the AI preserves authenticity while adding clarity. You’re not getting artificial sharpening that looks fake or overdone. Instead, the technology intelligently reconstructs what was likely there in real life but lost during capture or compression.
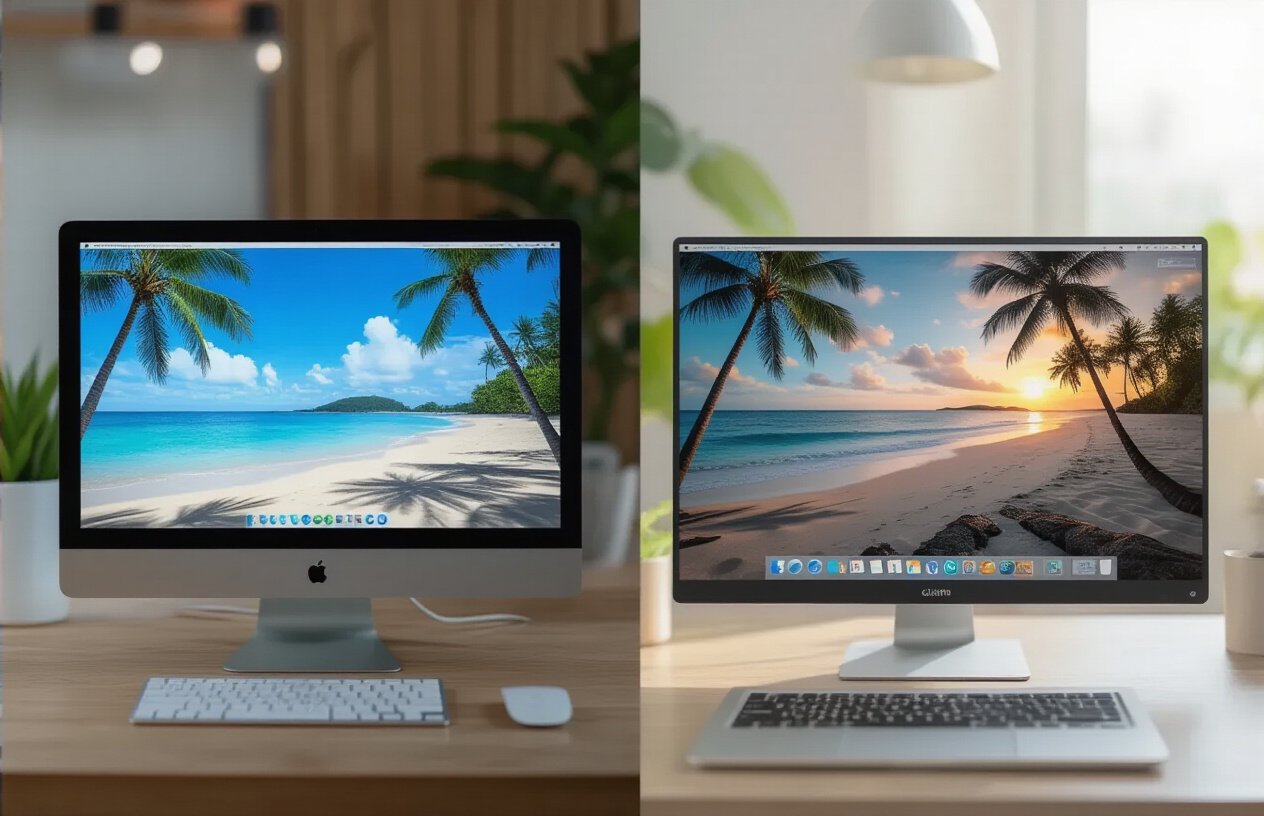
Color Correction That Makes Scenes Pop with Vibrancy
Color transformation represents perhaps the most dramatic improvement you’ll notice. The AI doesn’t just boost saturation randomly – it analyzes your image to understand lighting conditions, time of day, and natural color relationships to create realistic enhancements.
Sunset photos that looked washed out suddenly display rich oranges, deep purples, and golden highlights that match your actual memory of the moment. Ocean blues become crystal clear and inviting rather than murky or flat. Skin tones warm up naturally without looking artificial or oversaturated.
| Original Issues | AI-Enhanced Results |
|---|---|
| Dull, flat colors | Rich, balanced tones |
| Poor white balance | Natural color temperature |
| Faded highlights | Restored luminosity |
| Muddy shadows | Clear shadow detail |
The technology excels at fixing common vacation photo problems like indoor lighting that creates yellow casts or outdoor shots that appear too blue. Your tropical paradise photos finally look as vibrant as the destination actually was.
Texture Improvements That Add Professional Photography Quality
Surface textures receive incredible attention to detail through AI processing. Clothing fabrics show weave patterns and material properties that were completely smoothed over in the original. Water surfaces display realistic movement and transparency instead of appearing like flat paint.
Rock formations gain dimensional quality with visible mineral patterns and weathering. Tree bark shows intricate grooves and natural variations. Even seemingly smooth surfaces like car paint or building walls reveal subtle textures that add depth and realism to the entire composition.
The improvement goes beyond just visual appeal – these texture enhancements create a three-dimensional quality that makes viewers feel like they could reach into the photo. Your vacation memories gain a tactile component that standard photos simply can’t provide.
Resolution Upgrades That Prepare Images for Large Format Printing
The resolution enhancement capabilities open up entirely new possibilities for displaying your memories. Photos that were only suitable for social media sharing can now be printed as large wall art without pixelation or quality loss.
The AI intelligently upscales resolution by analyzing patterns and predicting what additional pixels should look like based on surrounding image data. A standard 1080p vacation selfie can become print-ready at poster size while maintaining sharp details throughout.
This means your favorite travel moments can finally become statement pieces in your home. Canvas prints, metal displays, and photo books all become viable options when your source material gets this level of enhancement. The technology essentially gives old photos new life as display-worthy art pieces.
Maximizing Your Results with Pro Tips and Best Practices

Choosing the Right Source Photos for Optimal Transformation
Your source photo makes or breaks the AI enhancement process. Start with images that already have decent resolution – anything below 800×600 pixels will struggle to produce impressive results, no matter how advanced the AI tool.
Look for photos with clear subjects and minimal motion blur. Group vacation shots work beautifully, but avoid images where people are moving quickly or where the camera shake is obvious. The AI works best when it has crisp details to analyze and enhance.
Best photo types for AI enhancement:
- Portrait shots with good facial definition
- Landscape photos with distinct foreground and background elements
- Architecture or landmark photography
- Still life or food photography from your travels
Avoid heavily compressed images from social media downloads. Instead, dig into your camera roll or photo library for the original files. JPEG compression artifacts confuse AI algorithms and result in weird textures or unnatural smoothing effects.
Understanding Lighting Conditions That Work Best with AI
Natural lighting produces the most stunning AI enhancements. Photos taken during golden hour or in soft, diffused daylight give the AI plenty of tonal information to work with. The algorithm can better distinguish between shadows, highlights, and mid-tones when there’s good contrast without harsh extremes.
Overcast days actually work in your favor – that even, soft light eliminates harsh shadows that can create problems during processing. Indoor photos near windows or outdoor shots in open shade often produce better results than bright, direct sunlight photos.
Lighting scenarios ranked by AI performance:
- Overcast or shaded outdoor lighting
- Golden hour photography
- Well-lit indoor spaces with window light
- Bright but not harsh daylight
- Artificial lighting (requires more careful processing)
Photos with extreme backlighting or deep shadows require additional manual adjustments before running through AI enhancement. The tool struggles with blown-out highlights and completely black shadow areas.
Avoiding Common Mistakes That Reduce Output Quality
Over-processing kills the natural look that makes AI enhancement so impressive. Resist the urge to run your photo through multiple AI tools or apply heavy filters before enhancement. Start with a clean, unedited image whenever possible.
Many people upload low-quality versions by mistake. Double-check that you’re uploading the full-resolution file, not a thumbnail or preview image. File names ending in “_small” or “_preview” are red flags.
Common processing mistakes to avoid:
- Using heavily filtered or edited source photos
- Uploading images with visible watermarks
- Processing extremely dark or bright photos without adjustment
- Running the same image through multiple AI tools consecutively
- Ignoring aspect ratio recommendations
Save your enhanced image in the highest quality format available. Many free AI tools default to compressed outputs, but premium options or different export settings can preserve more detail. Always download the largest file size option when given a choice.
Watch out for over-sharpening artifacts around edges, especially in portraits. If faces look plastic or unnatural, try reducing any sharpening settings or use a gentler enhancement mode. The goal is realistic improvement, not obviously artificial perfection.

Your old vacation photos don’t have to stay stuck in the past with poor lighting and lackluster quality. This AI tool proves that you can breathe new life into those cherished memories without spending hours learning complex editing software or paying expensive fees to professional photographers. The transformation process is surprisingly simple – just upload your photo, let the AI work its magic, and watch as blurry details become crystal clear and colors pop like never before.
The results speak for themselves, and the best part is that this technology is completely free and accessible to anyone. Take some time to dig through your photo collection and give this tool a try on those special moments that deserve to look their absolute best. Your enhanced photos will not only look incredible but also remind you why you fell in love with those places and experiences in the first place.